Wednesday, October 12, 2011

A Ton of Concrete Later...

In our back yard we have a small patch of dirt surrounded by concrete adjacent to our house. Tim had a great idea in the spring-- a garden. He tilled the earth in this small plot. I even planted a few strawberry plants. As soon as the first strawberry would begin to ripen a blasted bird would snip a little bite out of it, rendering the whole thing inedible. After this happened to 20 or so strawberries, I gave up. It was only May and I was done.


What was once a neatly maintained and fenced in little area became a weed patch once again. Monkey and Sullivan could still fit their little bodies in between the wire fencing, so it did little to deter them from digging in the dirt. They were nice enough to leave the strawberries undisturbed. I didn't even take a photo of the embarrassing state of affairs in this weed garden. If only I could cultivate fruits and vegetables as well as I could cultivate weeds!

We'd had enough. Tim got pretty ambitious and decided to concrete this area. You heard me, concrete it... ourselves. We're pretty ambitious DIYers-- "A" for effort is the motto around here! Even for us, this was a big project given the level of skill concreting requires. We did some research on the basic steps and I asked my friend Kim for advice. Her husband is a professional, so Phil if you're reading this, please stop now. Trust me, you don't want to see the craftsmanship that comes next.


Tim removed the wood retaining walls and dug up the roots of 4-5 bushed that were buried deep in the ground. Next he had to dig out a good 6 inches of dirt and transplant it to the back of the yard in a low spot. I'm sure the neighbors wondered what the heck we were doing, burying dead bodies or something (those are actually hidden in the vacant house behind us in case you were wondering). Finally, he poured gravel into this trench. Thankfully, he did this over a two week period. Sadly, I don't have any photos to document all of the hard work that went into it, but I'm sure he can attest to the back-breaking work that took place.

You'll notice a strip of black in the above photo. This is a strip that absorbs the shock so to speak when the concrete expands and contracts in the cold and heat. Thankfully, Kim gently reminded us that we should install this so our newly poured concrete didn't crack (thanks Kim!). We opted to place it on 3 sides. The 4th side had a small strip (4" wide) that we wanted to be flush with our new concrete.


Brian brought his truck and helped Tim pick up the concrete from Home Depot (thanks Brian!). We purchased twenty 80 lb. bags. 20 bags x 80 lbs. = 1600 lbs. You read that right: 1600 POUNDS!!! I did help Tim with this project, but most of the physical labor came from him because the bags were too heavy for me to lift.

We dumped each bag into our mixing trough, added the prescribed amount of water, and mixed. I did more of the mixing than the lifting. Even that was shockingly difficult. Shoving and pulling 80 pounds of concrete/gravel to mix it evenly with water is no simple task. We added extra water as needed to get the concrete the right consistency. The next time you see a concrete truck you should thank your lucky starts there is machinery to help us with bigger projects!


We dumped each bag of concrete over the gravel. After 17 bags were in, we smoothed it out and skimmed another wet batch over the top. We did our best to use a board to level the concrete. It was tremendously difficult to do because the concrete contained bits of rock that would lift as we pulled the board across the top. For our first attempt at concrete, I'd say we did pretty well. It is a level slab that slopes appropriately away from the house. It's definitely not smooth though. We took our hands across the top and tried to smooth it out in small circles. It's not pro-quality, but it's a functional space!


As the concrete dried, we placed a penny with the year in the corner. This was Kim's suggestion to commemorate our concrete experience in this house (great idea Kim!). Every few hours, we spritzed the top of the slab with water to keep it from drying too quickly. We also placed a tarp over the top and blocked the dogs from trampling in our freshly poured project. We certainly get an "A" for effort on this one!


Friday, September 30, 2011

Laundry Room Mini-Makeover

The laundry room has to be my least favorite room in the house. It even tops the nasty upstairs carpet on my list of not-so-awesome spaces in the house. As far as laundry rooms go, ours isn't bad and I am thankful for that. After all, it is a finished space and isn't in a dungeon. There are actually lights in this room vs. most laundry rooms in the torturous basement of a home. Plus, it is spacious. We can even store some things in there in awkward nook that leads back to our electrical panel/breaker box. Despite all of these positive qualities, it does have some negatives:

First, it's a bug haven. Sick. This is probably my #1, 2, 3, and 4 reasons for not liking the laundry room. I've seen more than 5 spiders in there. Thank goodness I have Monkey to protect me! Seriously, that dog and I were meant for each other. A few mornings ago, I heard her clamoring around in the dining room while I was upstairs getting ready for work. I thought she was getting into mischief, her usual mode of operation. I came down stairs to find her pawing at a spider, a giant nasty disgusting creep-tastic huge big extra large spider with scary legs. She plays a game with them, a game that usually ends in their demise. I typically notice the noise of her paws against the wood floor and come downstairs. Yikes! Then I grab my kills-any-bug-within-a-10-foot-range spider spray and take care of business. Unfortunately, I'm left with the aftermath of this bloodshed to clean up. You know, so the toxins in this arsenal don't kill my beloved spider killing dog. Back to the topic at hand, my laundry room.

Susie, Tim's mom, got us this cute little sign a few months ago (has it really been that long!?). Tim sweetly put this up in the hallway that leads from our living room to our bathroom, opposite the laundry room. It has a great vintage look.


Next, I installed this:


Can you tell what it is? Curtains! The previous owners had a curtain dividing the hallway from the laundry room. At first, I wasn't sold. They put up a tension rod and paisley/floral print, which made it look like a shower. It took us a while to find curtains that matched the look we were going for. This is a very large doorway, so it needed two tall curtains. Of course, I'm cheap so I wanted something that wasn't crazy expensive. We ultimately went with Woolrich Neutral Stripe Curtains from Target. The curtains were $29 total. Initially I researched making my own, but I found that the fabric was going to cost... wait for it... almost $100! Nuts! Absolutely nuts. I washed these curtains twice before hanging them to make sure that any shrinking happened prior to positioning the rod.


Please be advised, the photos are terrible. This is a very awkward space to photograph, but I assure you it does look nice (thanks Natalie!). Oh, and I still need to iron those curtains. Someday I'll get around to that, someday. We also struggled to find a curtain rod that didn't cost a fortune. We visited several stores and I was astonished at the price of curtain rods ($50 or more for just the rod)! This blog has a familiar pattern: I get a great idea, embark on said DIY project, and complain about the outrageous price of some of these items. I recalled that we so easily found a cheap one for our dining room ($15 for the rod and finials and $10 for the hold-back) from Meijer. Back to Meijer we went. I worried that the color wasn't exactly what we were looking for, but I was willing to spray paint it for that price!

Positioning the rod was also a dilemma. We didn't know whether to put it inside the laundry room or in the hallway. When I really examined the hallway, I knew that I would need to put it in the laundry room. There is very little space between the doorway in which this curtain is positioned and the doorway to the stairwell/living room. I hung the curtains so they would fall just above the floor. I don't like curtains dragging the floor. I know that creates a romantic look, but I prefer a crisp, meant to fit the space perfectly look.


I have many plans for this space in the future including: refinishing the floors (concrete) with some kind of epoxy or paint plus adding organization and storage. After we finish the upstairs with new paint and carpet, I think I'll try to tackle this room.

Saturday, September 17, 2011

Garage

The Garage!
When Chanelle and I first moved into the house, we knew that certain things had to be done to the garage. There was a huge set of metal cabinets attached to the back wall and a small set of hooks. Other than that, there was little storage. To remedy, we decided to take down the metal shelves and purchase 2 sets of open shelves. On top of that, I wanted a work bench. My grandpa had a workbench, my dad has a workbench and it was my turn. My dad, mom and Molly came down and dad and I worked on the bench.
We started by building the frame. We got 90% of the lumber from the clearance bin at Home Depot! My dad also bought a couple of 8 foot hardwood planks to use for the top.
Monk and Sullivan helped of course. It was a challenge to keep them out of the garage while we used the saw!
And of course, Molly-dog had to help too. It was a fun visit having my parents down. They hadn't see the house since the day they helped us move in!
Dad and I were pretty proud of our finished product. It's a solid workbench; one that I'll be able to move around or move out eventually!
After that weekend, I also wanted to run some utility hooks along the side wall of the garage. This helps organize (Chanelle's favorite word!) and keep important tools off of the garage floor.
I even repurposed and old hook that the previous owners had left behind. It's sturdy enough to hang my wheelbarrow!
A good pic of me sizing up my work. This project was actually really easy. Mark the studs, level the board and screw it in!
This is the finished product of the back wall of the garage. Shows my new workbench, clean back wall and our new storage shelves.
And finally a final shot of the wall. All in all this was a very successful project; onto the next project!

Thursday, September 15, 2011

Like a Cheapskate in a Thrift Store

Do you think that phrase can gain momentum? Kind of like a kid in a candy store, but for frugal folks like me. On my way to work each day I pass by Valley Thrift. It took me a few months to realize the bounty of deals at this wonderful place. This isn't just any thrift store. Oh no, this place is packed. Packed with stuff, packed with people.

Fun Fact #1- How do you know when the store is open? Silly question. Is the parking lot packed? Yes. Then it's open! The parking lot is always packed if they are open.

Fun Fact #2- When you tell people you live in Fairfield, what are the most common things they idenitify as 'in Fairfield'? 1) Jungle Jim's 2) Valley Thrift 3) Bowling.

Fun Fact #3- How much did this particular purchase cost? $0.99 No lie. Actually the tag said $99 and I was astonished. Are you telling me this piece of crap cost ninety-nine dollars? No, I'm telling you it's slightly less than $1. What an amazing find! I love it. I absolutely love it. Little find, you're not a piece of crap, I love you. This is my internal monologue... moving on.

Here is my lovely little find:


What is it?

It's a director's chair. What on earth are you going to do with it? It happens to be missing parts, which is just fine by me.

Can you see it yet?
It's a luggage rack! You just figured out Blue's Clue's, you just figured out Blue's Clues!


Enough of these shennanigans. Here's the step-by-step on what I did:
1) Buy a $1 chair
2) Remove arms
3) Cover the gold hinges in painter's tape
4) Spray paint with black paint you have on hand


Here's where you come in. I'm not sure how to 'cover' the top. I have several options:

1) Fashion a replacement fabric cover much like the red one in the original photo using the same fabric that I used on the upholstered bench. This has dowels that slide into grooves on the top of the former seat.
2) Create a cover (with the same fabric as the upholstered bench) much like the red one except don't use the dowels. Instead, staple the fabric cover to the underside of the rack.
3) Don't use a fabric cover at all. Instead, buy thick, sturdy ribbon and staple multiple straps to the top of the luggage rack. This would be similar to what you would see in a hotel room, like this.

Options 1 and 2 are nice because they use existing fabric, so this project would come to a whopping total of $1. Plus, that fabric is very cute. Option 1 does scare me a wee bit because I would have to sew precisely around small dowels and hope it stays. Option 3 is nice because it does not involve sewing. I have a sewing machine (thanks Mom!), but I am a novice seamstress. What do you think? Comment with your top choice: 1, 2, 3, or something totally different!

Friday, September 9, 2011

A Magical Vacation

I apologize for the lengthy and unintended hiatus. The wonderful and problematic thing about maintaining a DIY blog is the work that goes into each post. No, I don't mean the time spent putting the post together. I mean the time spent doing the project in the post! Alas, I'm back with a lot to share.

The guest posts were intended to mask our family vacation to Disney! Tim and I have been planning and researching this trip for a year. We had 9 people on the trip: Mom, Steve, Camera, Shon, Tiffany, Jordan, Brooklynn, Tim and me. My mom and Steve have been featured in several posts, so you've 'met' them. The others made a guest appearance in my Halloween post last year. Despite the 100+ degree temperatures and 85%+ humidity, we had a great time.

With a group that large, we thought a hotel wouldn't be a viable option and we also planned to eat several meals at home to save money (boy do I love a deal!). We rented a house with a private pool and hot tub, 4 bedrooms, 3 bathrooms, and a large living space for everyone. We used homeaway.com to find our property, but other websites like vrbo.com are great resources as well. The pool was pretty important for us because we have a large group. I read that hotel pools can be very crowded and difficult for large families, so we opted for the private pool.


Magic Kingdom
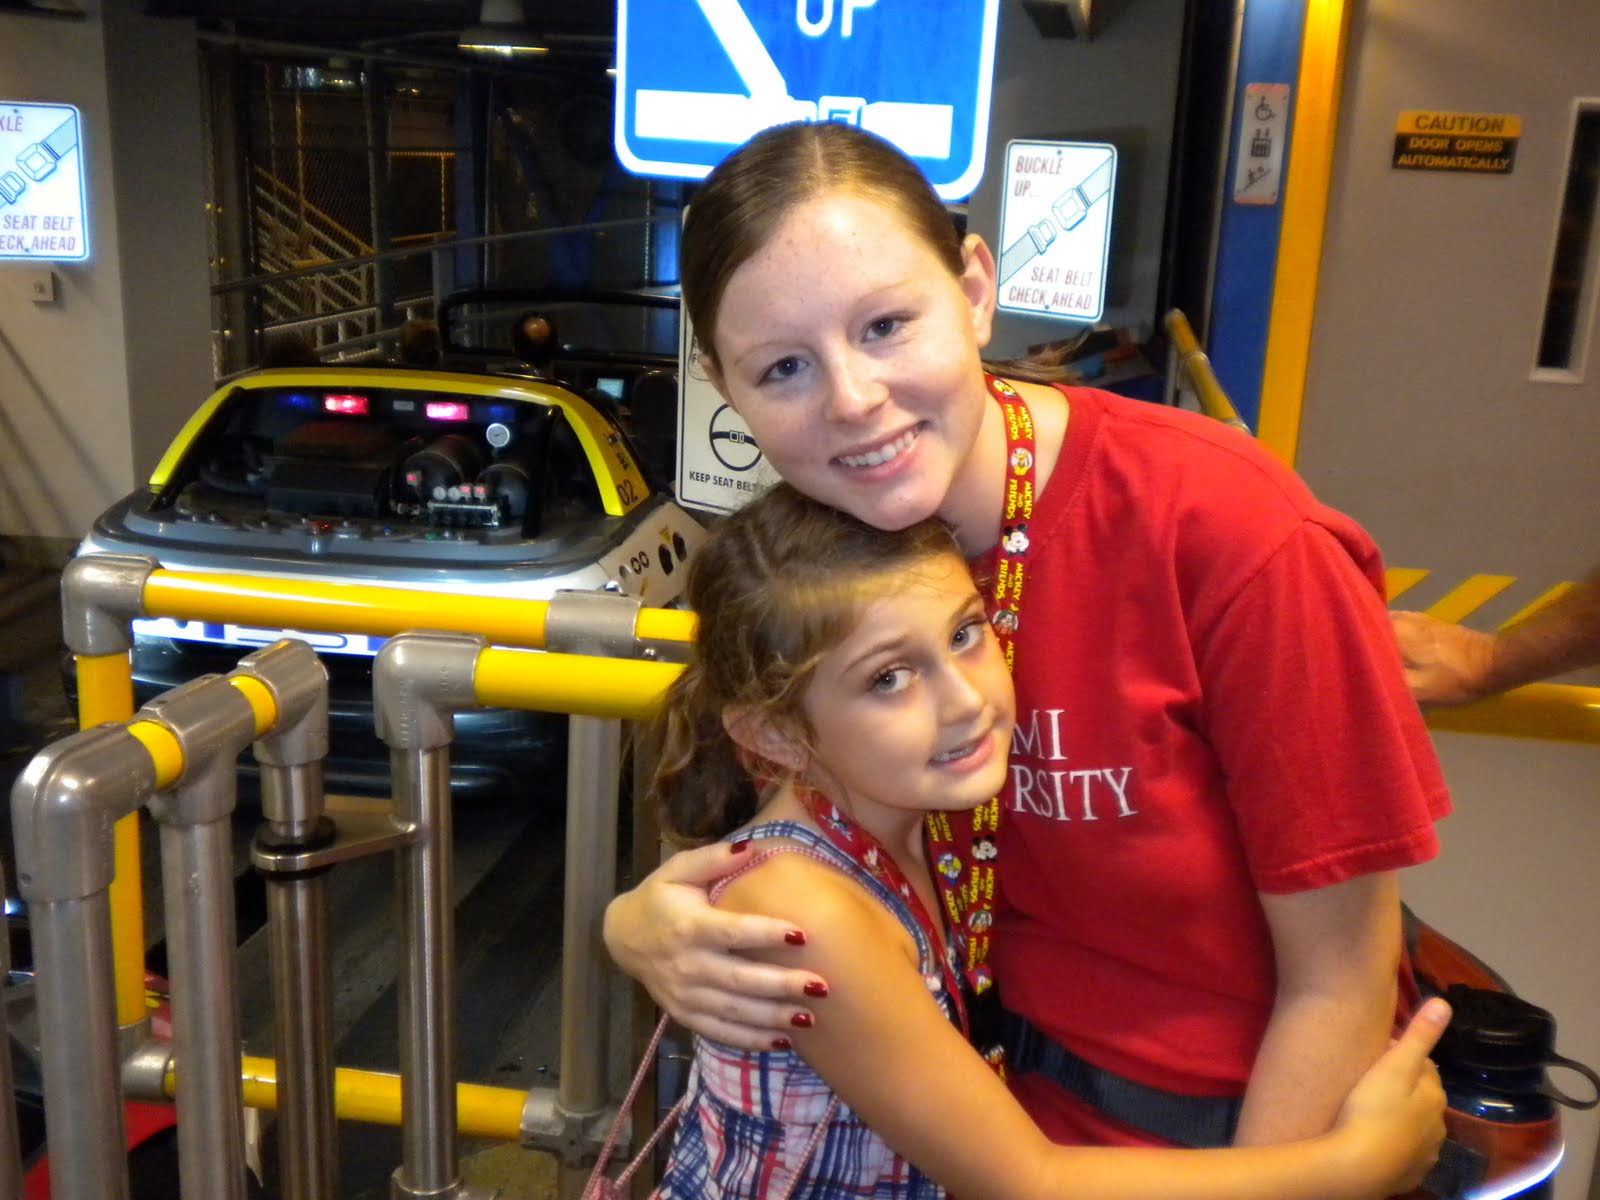
 We allotted two days each at Epcot, Hollywood Studios, and Magic Kingdom. This was Brooklynn's favorite park. She enjoyed the 'magic' of it all including princesses, the castle, and tons of characters. You can see the lanyards in our photo below. Disney sells pins all over the parks. When you buy a pin, you can trade with any Disney staff member, so this was a pretty fun game for Brooklynn.


Brooklynn & me

Tiffany had a birthday (age 13) while we were on the trip. Not to get all sentimental on you, but I remember when she was a baby not that long ago... We visited Animal Kingdom and Logan's Steakhouse on her birthday, both her choices. We actually didn't plan to visit Animal Kingdom, but we finished Epcot in one day, so we spent our last day at Animal Kingdom instead. The Safari is definitely the highlight if you're looking to see animals. In general, it's still a theme/attraction park rather than a zoo. All of the attractions/rides are animal themed while the safari had the animal component (as well as the petting zoo which we did not visit). Tiffany liked Logan's because you could throw peanut shells on the floor.

Camera, Tiffany, & me
 I first visited Disney when I was 5 with my mom, Steve, and brother Adam. My mom and I took a photo at this exact location almost 20 years ago!


Mom & me

Jordan liked Hollywood Studios (formerly MGM) the best. He enjoys the fast thrill rides like the Aerosmith Rockin' Rollercoaster. This is also my favorite ride!
The Guys: Steve, Shon, Jordan, & Tim

Tim and Steve preferred Epcot. My good friend Mansi always says about her husband, "Calvin loves learning!" I would say that statement applies here. Tim and Steve liked the opportunities to learn about different countries and cultures. Steve and I went to an attraction about Walt Disney's life, vision, etc. It was remarkable the vision this man had. Interestingly, Epcot was his vision for the future (and the only park he planned before his death), which is why it contains so many futuristic rides.
The whole gang at Hollywood Studios.

Now that I've shared my vacation/absence from blogging, let's get back to DIYing! A lot has been happening in the 6 weeks-ish since I've posted, so look forward to seeing some great posts soon including a new paint color, an organization project, and a great caulk trick. Get excited!